
The Process of Making Yearbook Photos
- Caden Green

- Apr 3, 2021
- 2 min read
The yearbook committee is hard at work now producing the school’s yearbook, packing the school year into a product worthy of great renown. I’m not going to talk about that, rather about the pictures that are going to be in the yearbook. The process from camera to printout is very interesting to me and I have learned a great deal while working on the yearbook.
I’m going to be using the picture of myself as an example. As the picture is taken, the camera sensor records the data and it is saved to work with later. There are multiple ways to store the data, but I chose to use camera RAW, because it produces a file that contains the raw data from the sensor, not processed in any way. Therefore, I could process it on a computer and potentially produce better looking results. Here is an image that represents that data with as little processing as possible:

Looks like I'm a little green around the gills. This is a small portion of the image:

As you can see, each pixel is either red, green, or blue. A pixel on the camera’s sensor can only detect the intensity of one of these colors, so a technique called demosaicing must be employed. It estimates the color that each pixel should be based on the ones around it. Here is an image that has been demosaiced and adjusted for white balance, with no other processing:

Adjusting for white balance is essentially guessing what combination of colors is white. For example, a scene lit by a tungsten light bulb would be much more red than a scene lit by sunlight. Here is the image with the white balance set to tungsten light:

Because a very red light is assumed to be white, this outdoor lit scene looks very blue by comparison. However, the image still looks very flat. This is the part where it gets fun. Because the data that is being worked with is raw sensor data, the exposure, contrast, etc. must be set manually. It’s difficult to get the right look. The image doesn’t have enough contrast, but if too much is added you might get something like this:

After properly adjusting, this is what I ended up with:

Of course, had you opted to save the data as a jpeg, all this would have been done in the camera and it would have been much easier. Of course, if you want to get just the right look, this might not be beneficial. For comparison, here is the image the camera produced from the same shot:

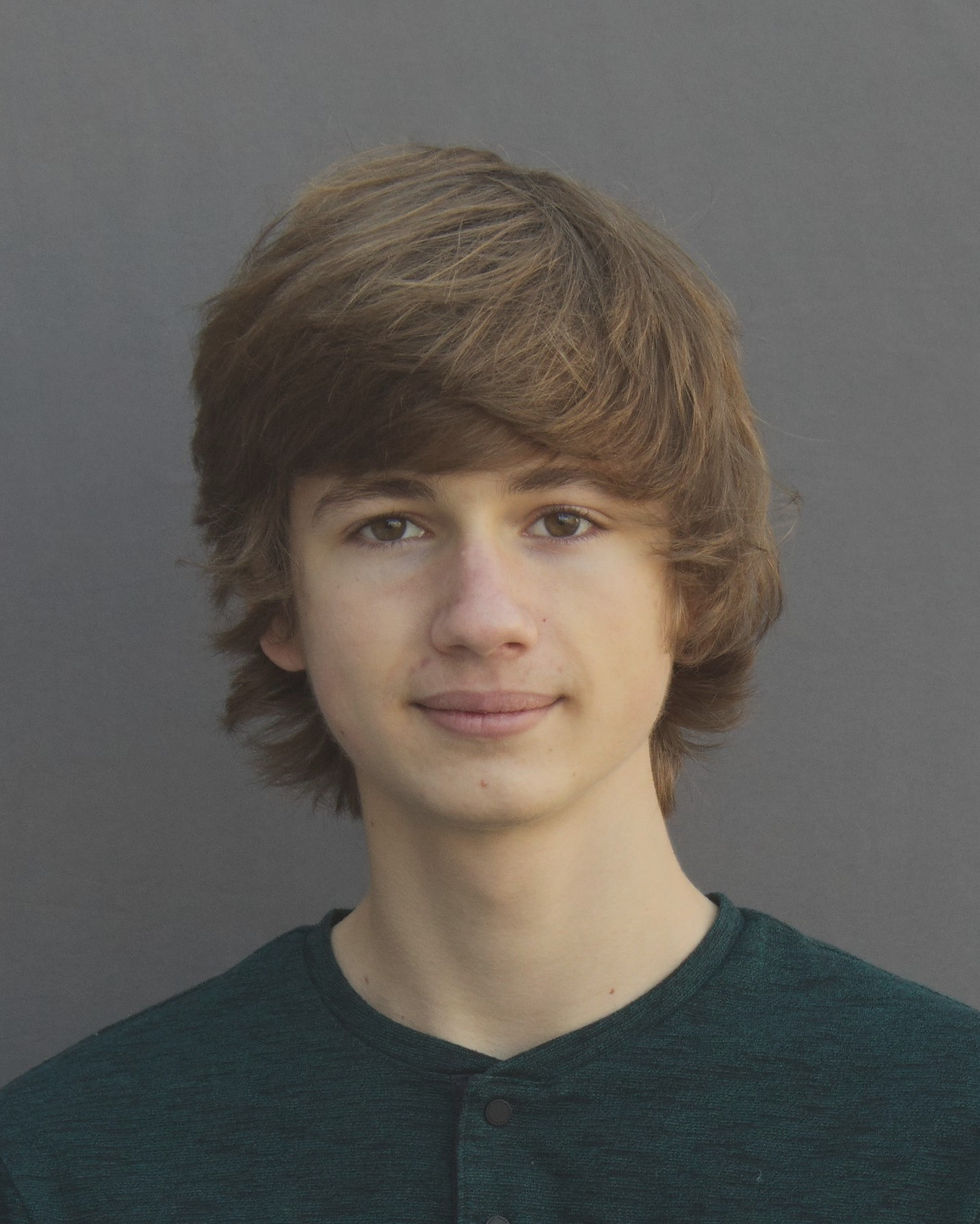
Not bad. For the final picture, I used a separate program to crop the image and remove the wrinkles in the backdrop. Here is the finished product:
Sixty more photos to go and then I’ll be done!


Comments